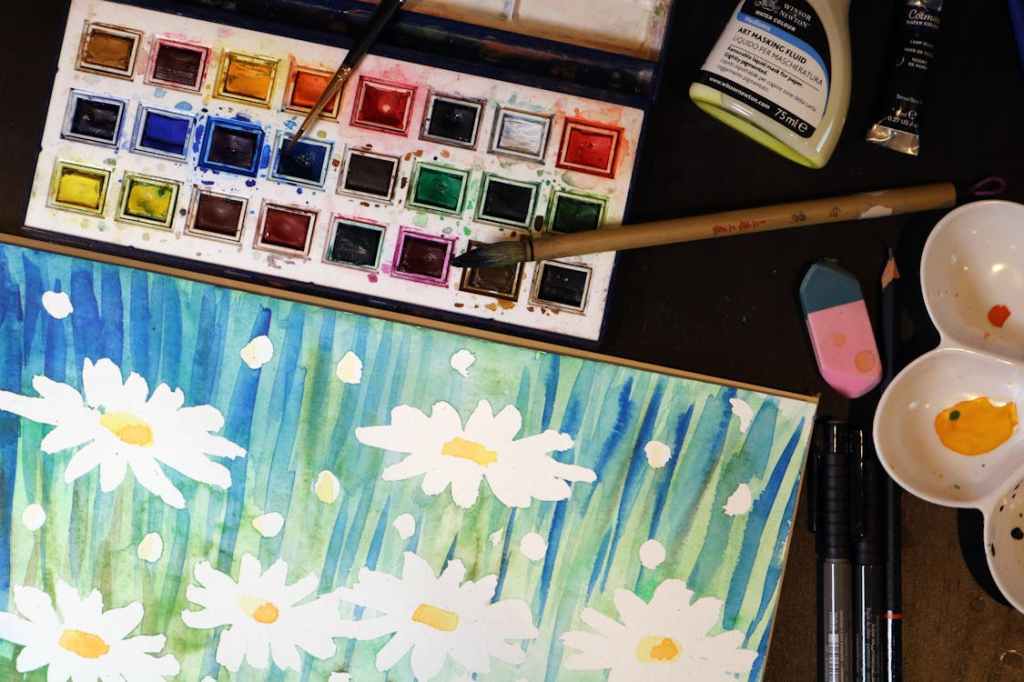
When transforming a watercolor artwork into a digital format, as an artist I need to consider several factors to ensure a faithful representation of my original creation. The process involves scanning or photographing the watercolor, digitizing it and potentially making adjustments to preserve its visual integrity. Come with me through this process.
- High-Quality Scanning/Photography:
- Use a high-resolution scanner or camera to capture the watercolor image. This ensures that the digital version retains the details and nuances of the original artwork.
- Adjust the settings to capture accurate colors and avoid any distortion. Maintaining the correct color balance is crucial in preserving my intended palette.
- Digital File Formats:
- Save the scanned or photographed image in a high-quality, lossless file format such as TIFF or PNG. These formats retain more detail compared to compressed formats like JPEG.
- Ensure the file resolution is sufficient for various purposes, including printing or displaying on digital platforms.
- Digital Editing:
- Use graphic editing software like Adobe Photoshop to make any necessary adjustments. This may include correcting colors, adjusting contrast, or removing any imperfections introduced during the scanning or photographing process.
- Keep a layered file during editing to preserve the ability to make non-destructive changes.
- Pixilation Considerations:
- Pixilation can occur if the resolution of the digital file is too low. To avoid this, I work with high-resolution images and, if necessary, upscale the artwork using interpolation methods to maintain clarity.
- Consider the intended use of the digital version. Higher resolutions are necessary for printing, while lower resolutions may suffice for online display.
- Watermarking and Branding:
- If the digital version is intended for online display, I consider adding a watermark such as my signature “Muse” or my company name, in this case, “Paint2Pixels.” My goal is to ensure that any branding elements do not detract from the overall visual appeal of the artwork.
- File Organization:
- Keep an organized file structure with clear naming conventions. This makes it easier for myself and potential clients to locate specific artworks.
- Metadata:
- When appropriate, metadata is embedded in the digital file, including information about the artist, creation date and any relevant details. This can be particularly useful for art galleries, exhibitions, or potential buyers.
By following these steps, I can successfully reformat my watercolor artworks into a digital format while preserving the essence of the original piece, offering them for sale in galleries, print on demand sites and as free art downloads here and a myriad of other user friendly free image hubs.

